


Why Every Pump Needs a Strainer (and Where to Put It)
Most pump failures that get blamed on the pump start somewhere else in the pipe. A fragment of weld slag left from installation, a flake of scale from an old main, a handful of sand drawn in from a ground tank — any of these can chip an impeller vane, score a wear ring or open up a mechanical seal within hours of start-up. A strainer costs a fraction of the pump it protects, and on most systems it is the cheapest reliability upgrade available.
What a strainer actually protects
A centrifugal pump is built to move liquid, not solids. Its internal clearances — between the impeller and the wear rings, and across the faces of the mechanical seal — are measured in fractions of a millimetre. Hard particles that pass through those gaps do three kinds of damage:
- Impeller and wear-ring erosion. Grit carried at high velocity wears the clearances open. Internal recirculation increases, and the pump delivers less head at the same speed while drawing the same power.
- Seal failure. Particles that reach the seal faces score them. A leaking mechanical seal is the single most common reason a pump comes out of service.
- Blockage. On small domestic and multistage pumps, the passages are narrow enough for debris to lodge in them outright, and flow collapses.
The strainer also protects what sits downstream of the pump — control valves, water meters and pressure-reducing valves all have tight seats that debris will hold open.
Suction side or discharge side?
If the purpose is to protect the pump, the strainer belongs on the suction side, upstream of the pump inlet. A strainer on the discharge only protects equipment further down the line; by the time debris reaches it, it has already passed through the impeller.
There is a trade-off, and it is the one that catches out most installations. Every strainer creates a pressure drop, and on the suction side that drop comes straight out of the pressure available at the pump inlet — the net positive suction head available (NPSHa). Clean, a correctly sized strainer costs very little. Half-blocked, it can take enough away that the liquid starts to boil at the impeller eye. The result is cavitation: noise like gravel in the casing, falling output, and pitting on the impeller.
So the rule is not simply “fit a suction strainer” — it is “fit a suction strainer that is sized generously and cleaned before it becomes the problem.”
Why the Y-type is the default for pump protection
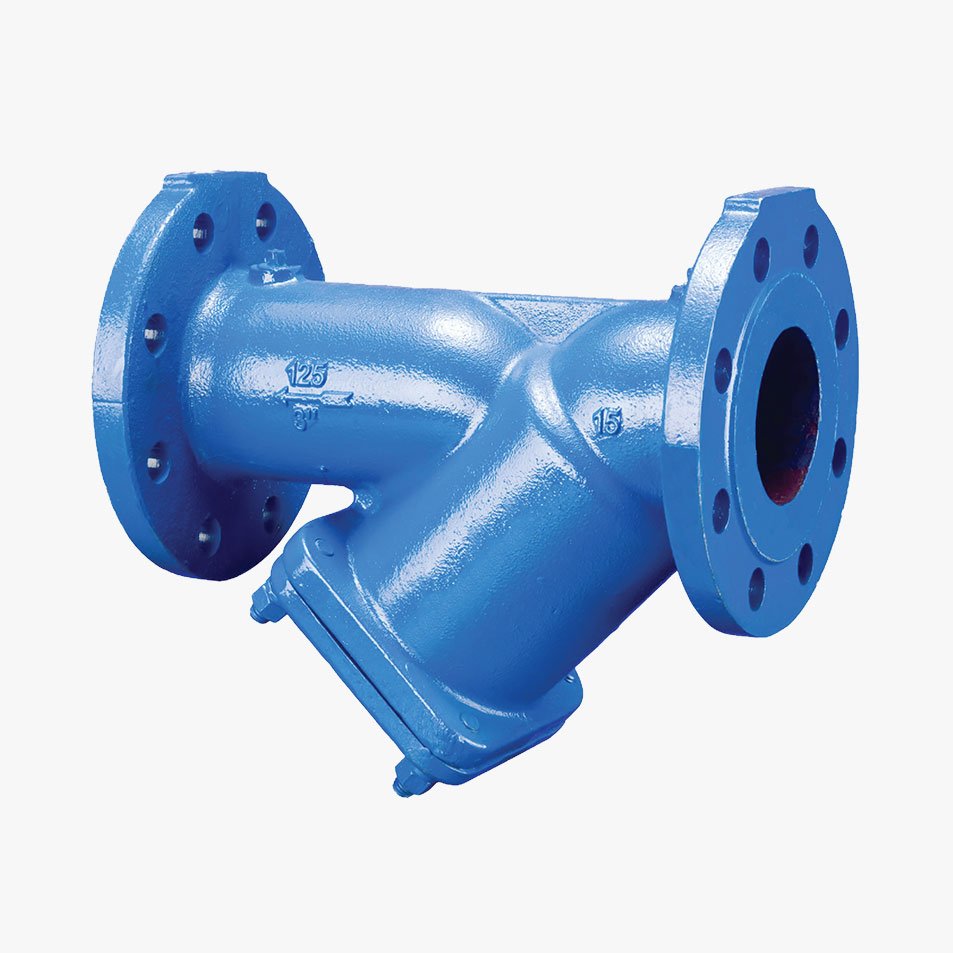
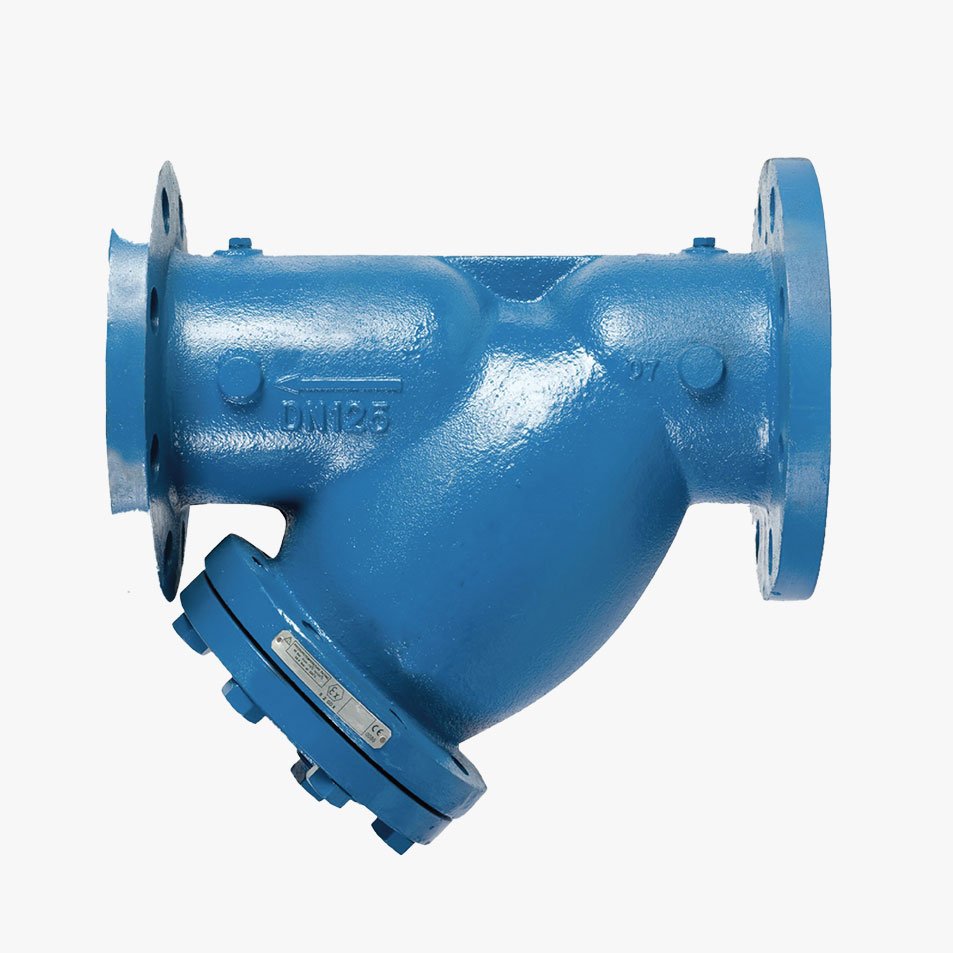
For most water, HVAC and irrigation duties the Y-type strainer is the standard choice. The screen sits in an angled leg off the main body, so it is compact, it installs directly in the line between flanges or threads, and it can be cleaned by removing a single cap without disturbing the pipework.
Basket strainers hold far more debris and are preferred on large lines where the dirt load is heavy. For the pump sizes found in buildings, villas and most process loops, the Y-type gives the right balance of size, cost and maintenance. For a full side-by-side comparison, see Y-type vs basket strainers.
Choosing the right body: bronze, cast iron or ductile iron
Il Niagara strainer range is built entirely around Y-type bodies, split by material and pressure class:
| Modello | Body | Ends | Pressure | Typical duty |
|---|---|---|---|---|
| SB16 | Bronzo | Threaded | PN16 (16 bar to 100°C, 7 bar at 170°C) | Domestic and heating circuits, small booster sets |
| SB20 | Bronzo | Threaded BSP or ANSI (suffix “AT”) | PN20 (20 bar to 100°C) | Potable water — WRAS-approved range -10°C to 85°C |
| SB32 | Bronzo | Threaded | PN32 | High-pressure small-bore lines |
| SS7W | Cast iron | Flanged BS EN 1092-2 PN16 | PN16, DN65–DN150 | Water supply, HVAC, irrigation |
| SDS1–SDS4 | Cast / ductile iron | Flanged | PN16, -10°C to 120°C | General pump suction duty, higher Kv for lower pressure drop |
| SDS8W | Ductile iron | Flanged BS EN 1092-2 PN25 | PN25, DN65–DN150 | High-pressure water and cooling circuits |
| SDS525 / SDS625 | Ductile iron | Flanged | PN25 (25 bar to 120°C, 21.5 bar at 220°C) | Steam, hot water and high-pressure systems |
As a working guide: bronze for threaded small-bore pipework and potable water; cast iron for general flanged water service at PN16; ductile iron where pressure, temperature or shock loading is higher. Confirm the exact size range, screen perforation and rating for the specific model against its datasheet — these vary by model, not by range.
Sizing: never smaller than the pipe
A suction strainer should be line size at minimum. Reducing the strainer to save cost is false economy — it raises velocity through the screen, raises pressure drop, and fills faster. Where NPSHa is already tight, as with pumps lifting from a sump or drawing from a low ground tank, go one size up from the pipe or choose a model with a higher flow coefficient. The SDS1–SDS4 series was developed specifically with a higher Kv to cut pressure drop compared with earlier designs.
Screen mesh is a balance. Finer screens protect better but block faster. For pump protection, the screen only needs to stop particles large enough to damage the pump — capturing every grain of silt is the job of a filter, not a strainer.
Installing it correctly
- Orientation. On a horizontal pipe, fit the Y-type with the screen leg pointing downwards, so debris collects at the bottom of the screen and does not fall back into the flow when the cap is opened. On a vertical pipe, install it only where the flow runs downwards.
- Flow arrow. Every body is cast with a flow direction. Fitted backwards, the screen can collapse.
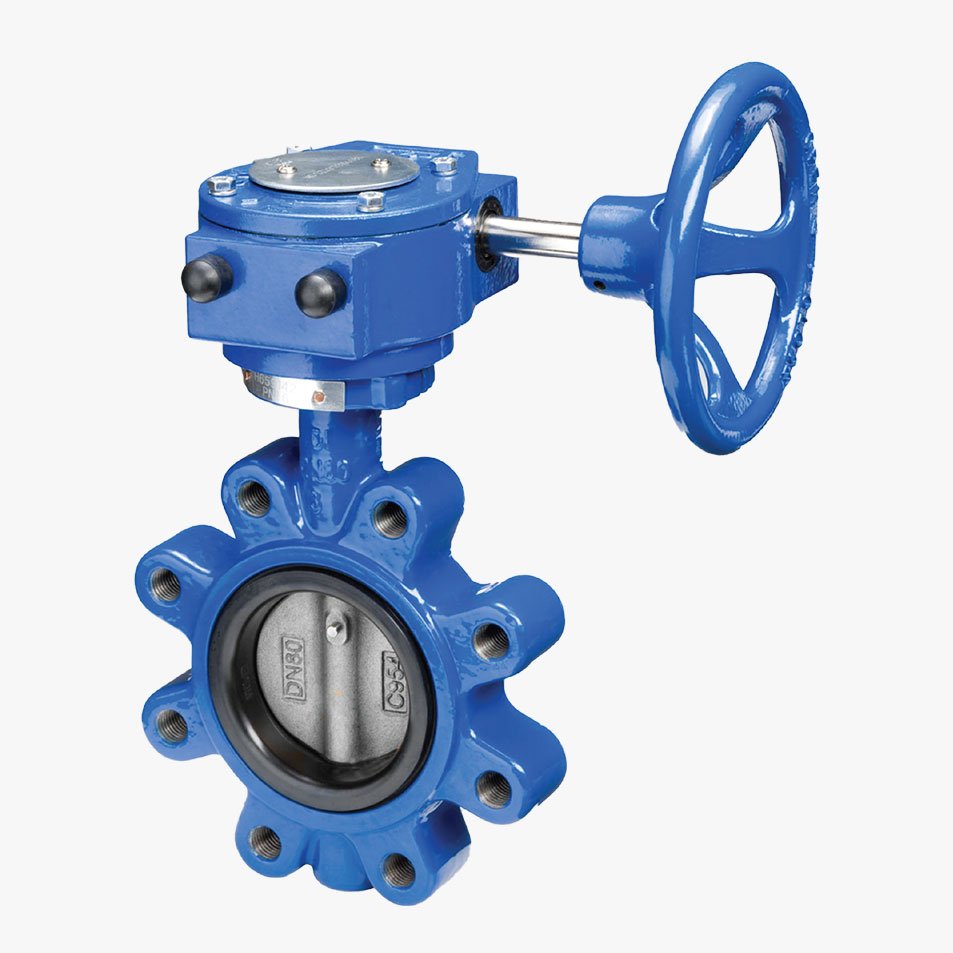
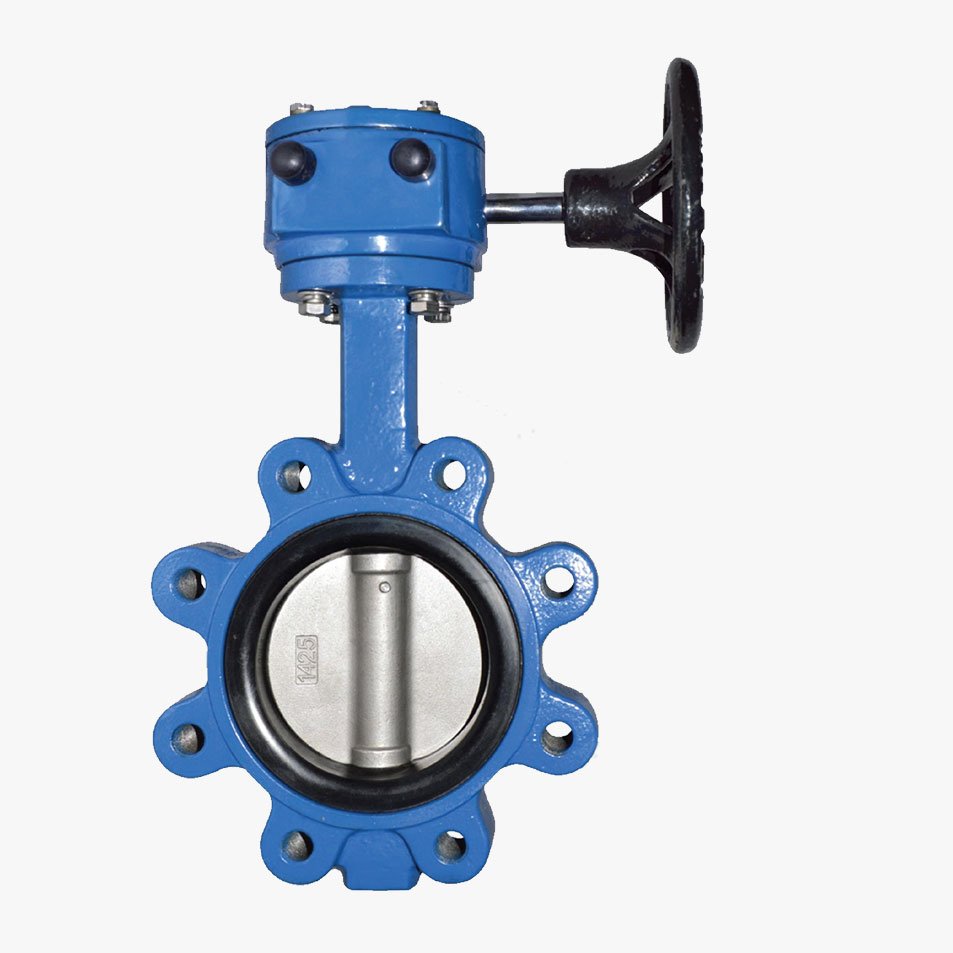
- Isolation. Put an isolation valve on each side so the strainer can be cleaned without draining the system. A gate or butterfly valve works for this; choose on the basis of line size and space.
- Straight run. Leave a straight length of pipe between the strainer and the pump inlet so flow reaches the impeller evenly, rather than bolting the strainer directly to the suction flange.
- Pressure gauges. A gauge on each side — or a single differential gauge — turns cleaning from guesswork into a reading.
When to clean it
The first weeks after commissioning are when a strainer earns its cost. New pipework carries weld spatter, jointing compound and cutting swarf, and a strainer can fill within days. Check it after the first 24–48 hours of running, then weekly until it stays clean.
After that, clean on the pressure-drop reading, not the calendar. When the difference across the strainer rises noticeably above its clean value, open it. A rising differential is also an early warning: if the strainer is suddenly collecting sand, something upstream — a tank, a borehole, a damaged main — has changed.
Signs your strainer is the problem
- The pump has become noisier, with a crackling or gravel-like sound — the classic sign of suction starvation.
- Flow or pressure has dropped gradually over weeks, with no change to the pump.
- A pump that keeps starting and stopping after previously running steadily.
- The pressure difference across the strainer is well above its clean value.
Any of these is worth a strainer inspection before the pump itself is opened.
The short version
Fit a Y-type strainer on the suction side of every pump that draws from a tank, a sump, a borehole or any network that has been recently built or repaired. Size it at line size or larger, install it screen-down with isolation on each side, and clean it on the pressure-drop reading. Matched to the Niagara pump it protects, it is the least expensive way to keep that pump running at its rated duty for its full design life.
For help selecting a strainer for a specific pump, pressure class or line size, browse the Niagara valves range or contact our engineering team.